GitHub pages 4 | Customize the template 2
In the last post we started to customized the folder structure of our new template. Now we want to work a little on the content.
This post will cover these topics:
- add readme and license
- add a favicon
- change the Title & Description
- change the Footer
- change the permalink
Add readme and License
If you want to run this as an open source project, now is the time to add readme and a license (obviously not required for enterprisev usage)
We didn’t do this initially to ensure we have a completely empty repository that we can first populate with our new website
The easiest way to do this is to create a new file and save it as README with the markdown extension. Once you push it to GitHub its content will be displayed below your files. You can populate it just like any other post or page with markdown.
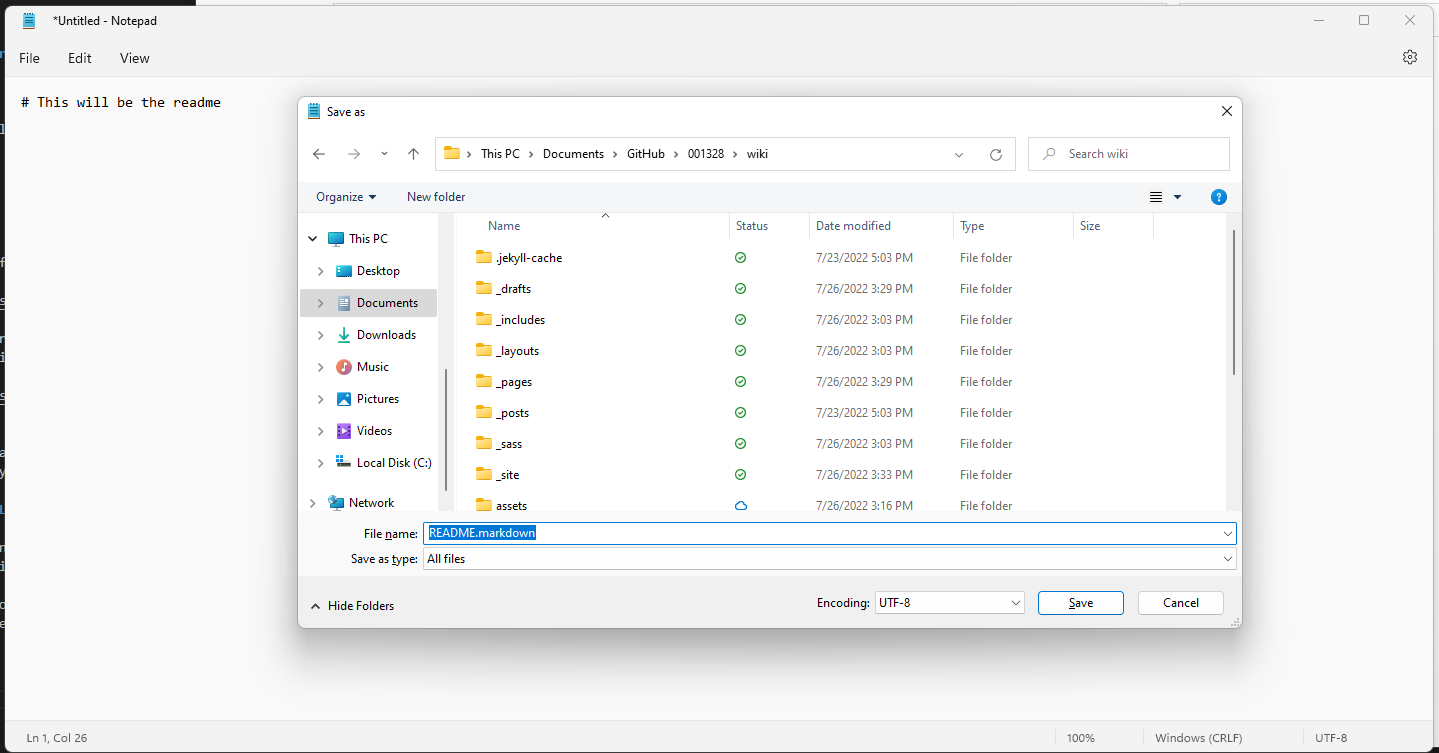
Then create another file and save it as LICENSE without any extension
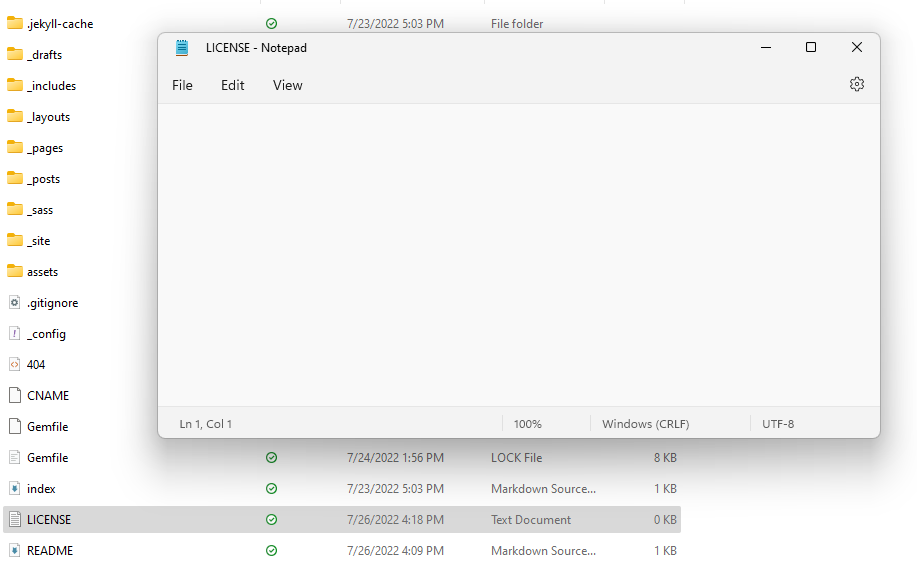
Now push everything to GitHub and open it there to edit (the little pencil on the bottom right).

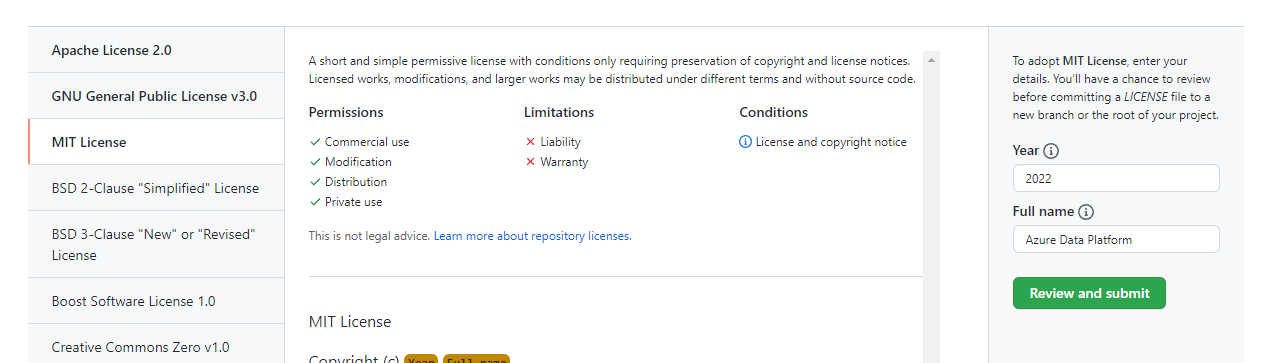
this give you the option to choose a standard license template:

I chose the MIT License and commit at the bottom, create a pull request and then delete the branch add-license-1 and the file LICENSE.txt
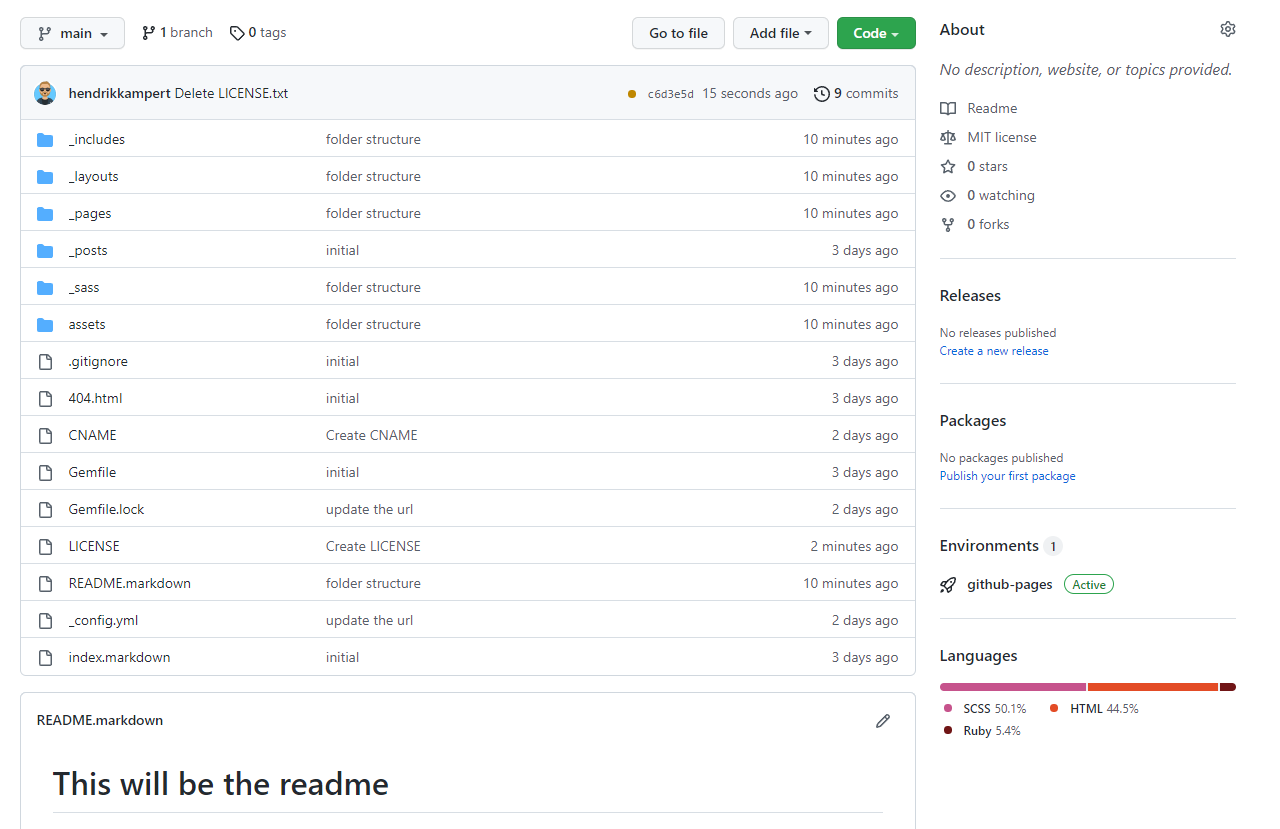
Check if there is still the other LICENSE.txt file in the repository. If so you can delete it
Great Job!
This is how it should look like now
Add a favicon
adding a favicon is a fun thing to do
a favicon is the “favorite icon” you can see on top of a website
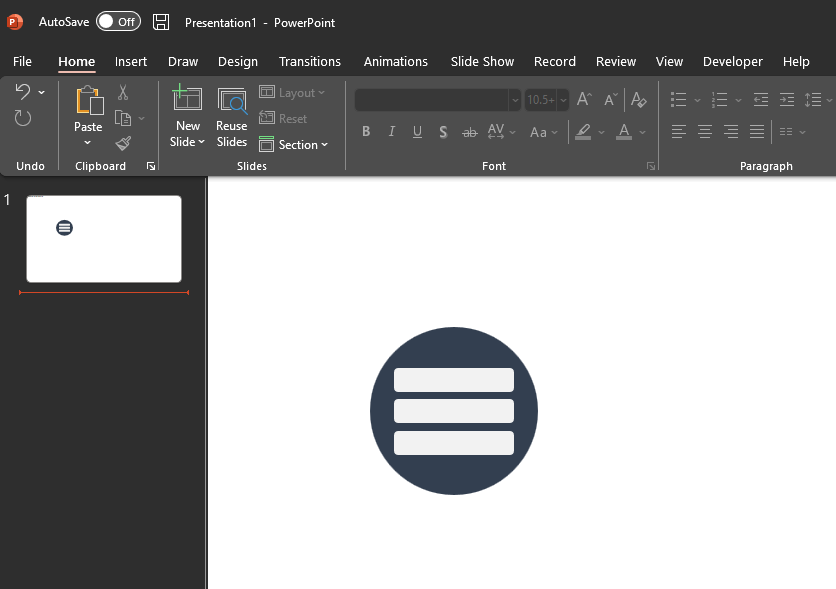
One way to do a quick favicon is to use powerpoint and Quickly draw something.
Now you can put this image into the favicon generator
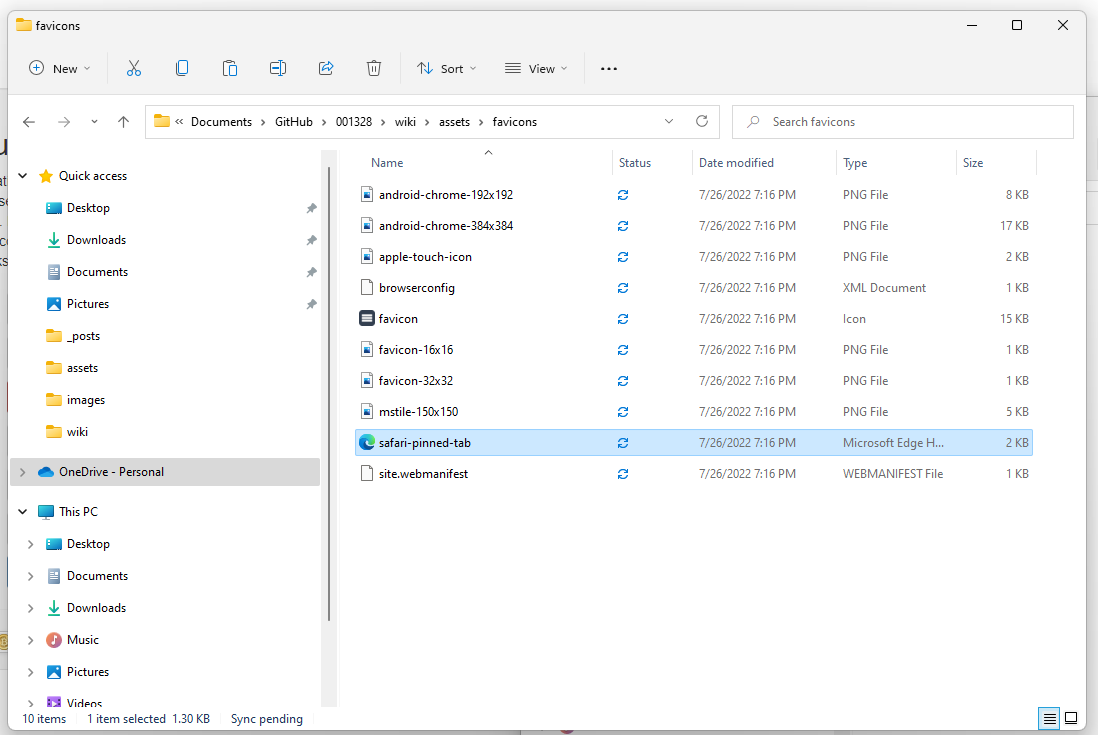
after it is generated the favicon generator give you everything you need to put it in your head.html just download the package and place it in a folder “favicon” under “assets”

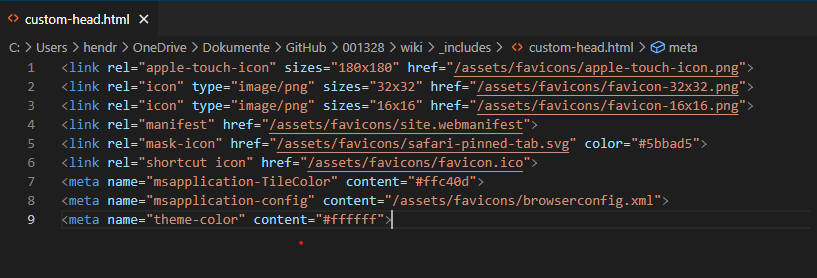
Next go to the folder _includes and create a new file custom-head.html
here, paste the code from the favicon generator
<link rel="apple-touch-icon" sizes="180x180" href="/assets/favicons/apple-touch-icon.png">
<link rel="icon" type="image/png" sizes="32x32" href="/assets/favicons/favicon-32x32.png">
<link rel="icon" type="image/png" sizes="16x16" href="/assets/favicons/favicon-16x16.png">
<link rel="manifest" href="/assets/favicons/site.webmanifest">
<link rel="mask-icon" href="/assets/favicons/safari-pinned-tab.svg" color="#5bbad5">
<link rel="shortcut icon" href="/assets/favicons/favicon.ico">
<meta name="msapplication-TileColor" content="#ffc40d">
<meta name="msapplication-config" content="/assets/favicons/browserconfig.xml">
<meta name="theme-color" content="#ffffff">
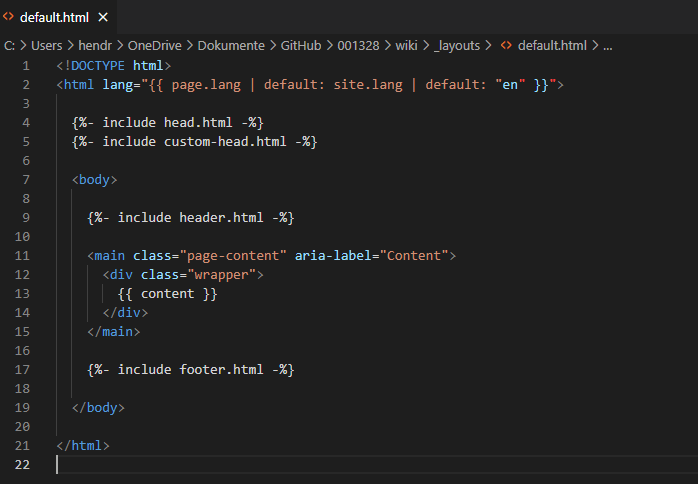
After you saved it go to _layouts/default.html and add the following code
%- include custom-head.html -%
After you pushed it to github you can enter your domain into the favicon checker
Change the Title & Description
You can change the title and description of your website in the _config file.
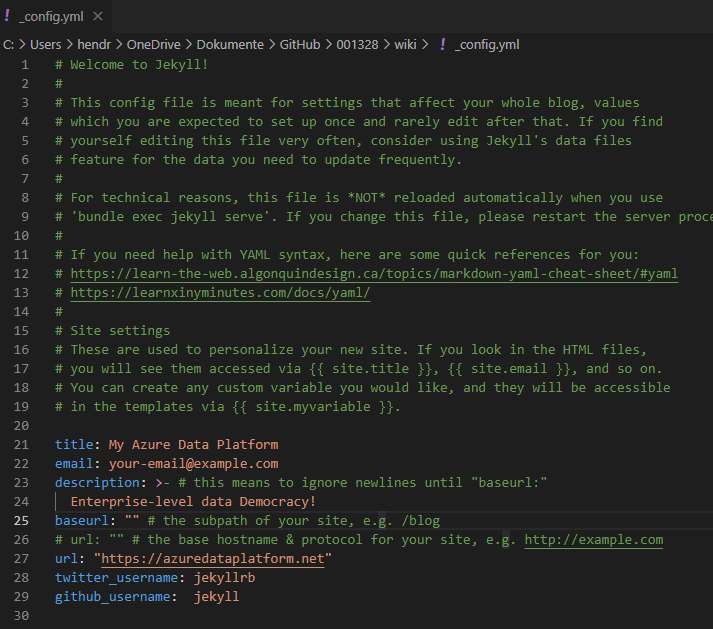
and that’s already it.
Change the Footer
Now let’s see if we can make the Footer how we want it.
In my opinion all that Design stuff should be done by designers, I just want to make fast and simple adjustments so I have something I am happy with.
That means for me:
- remove my personal email
- remove twitter and add linkedin an rss
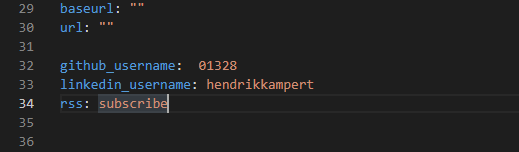
all you need to do is to go into the _config file and do these steps:
- remove the email
- remove twitter_username
- add linkedin_username: youruser
- add rss: subscribe
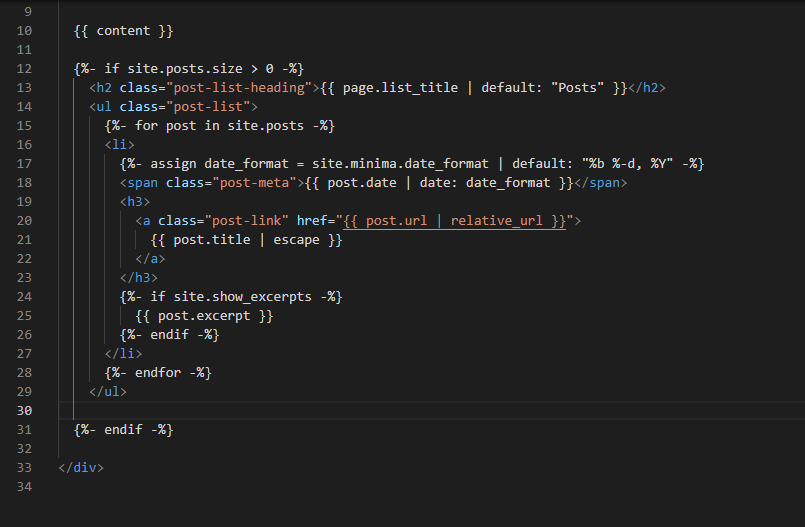
last step is to remove the texztx “subscribe via RSS” from the main page. go to home.html and remove line 31
Change the permalink
I don’t want the URL structure to include the date but I like it a little simpler.
To adjust the URL go to your _conf file and add this line
permalink: /blog/:title/